Water Damage Insurance Claim Checklist
Water Damage Insurance Claim Checklist — How to Protect Your Settlement from Day One
Naples, FL
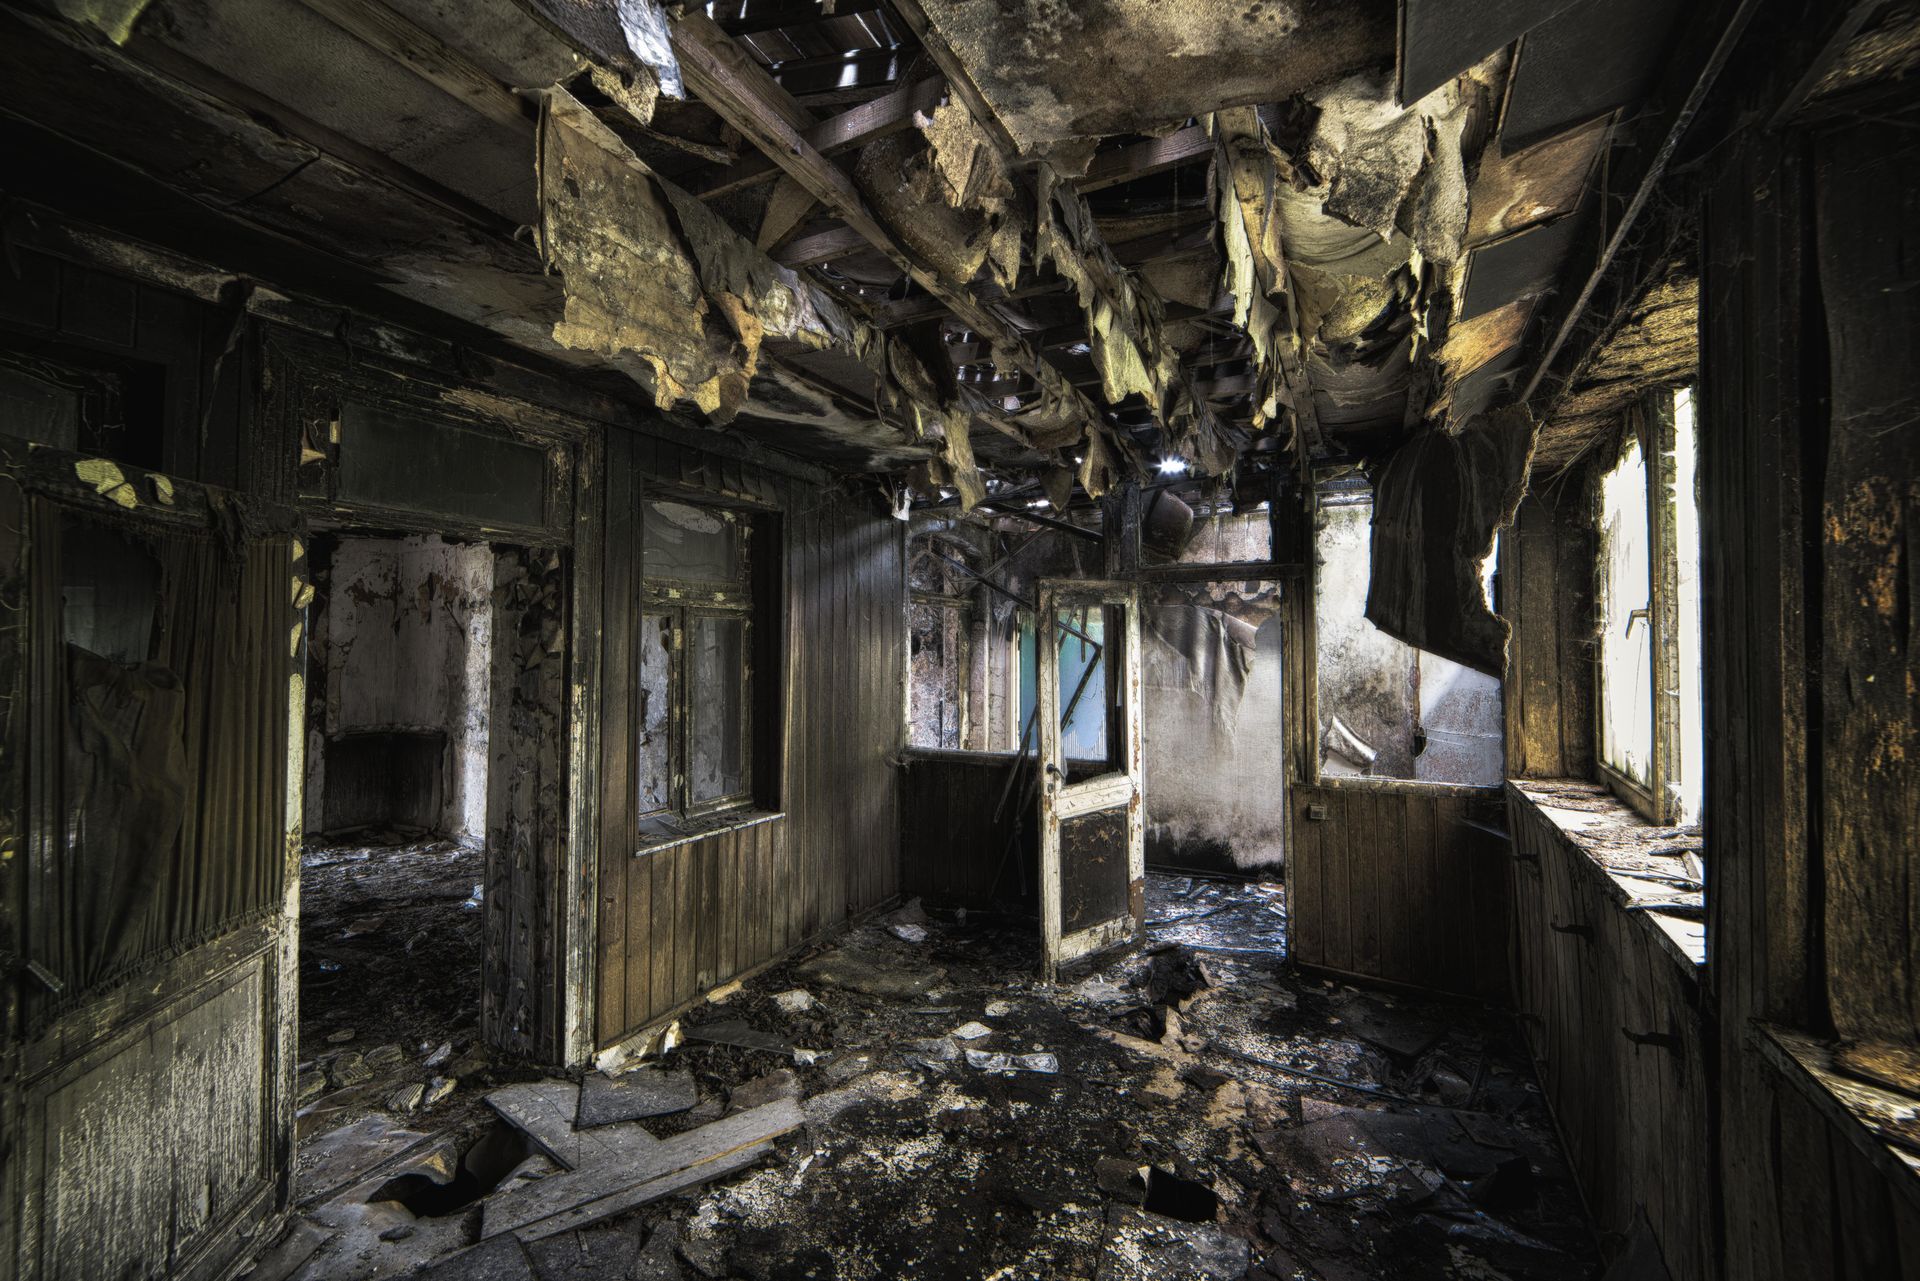
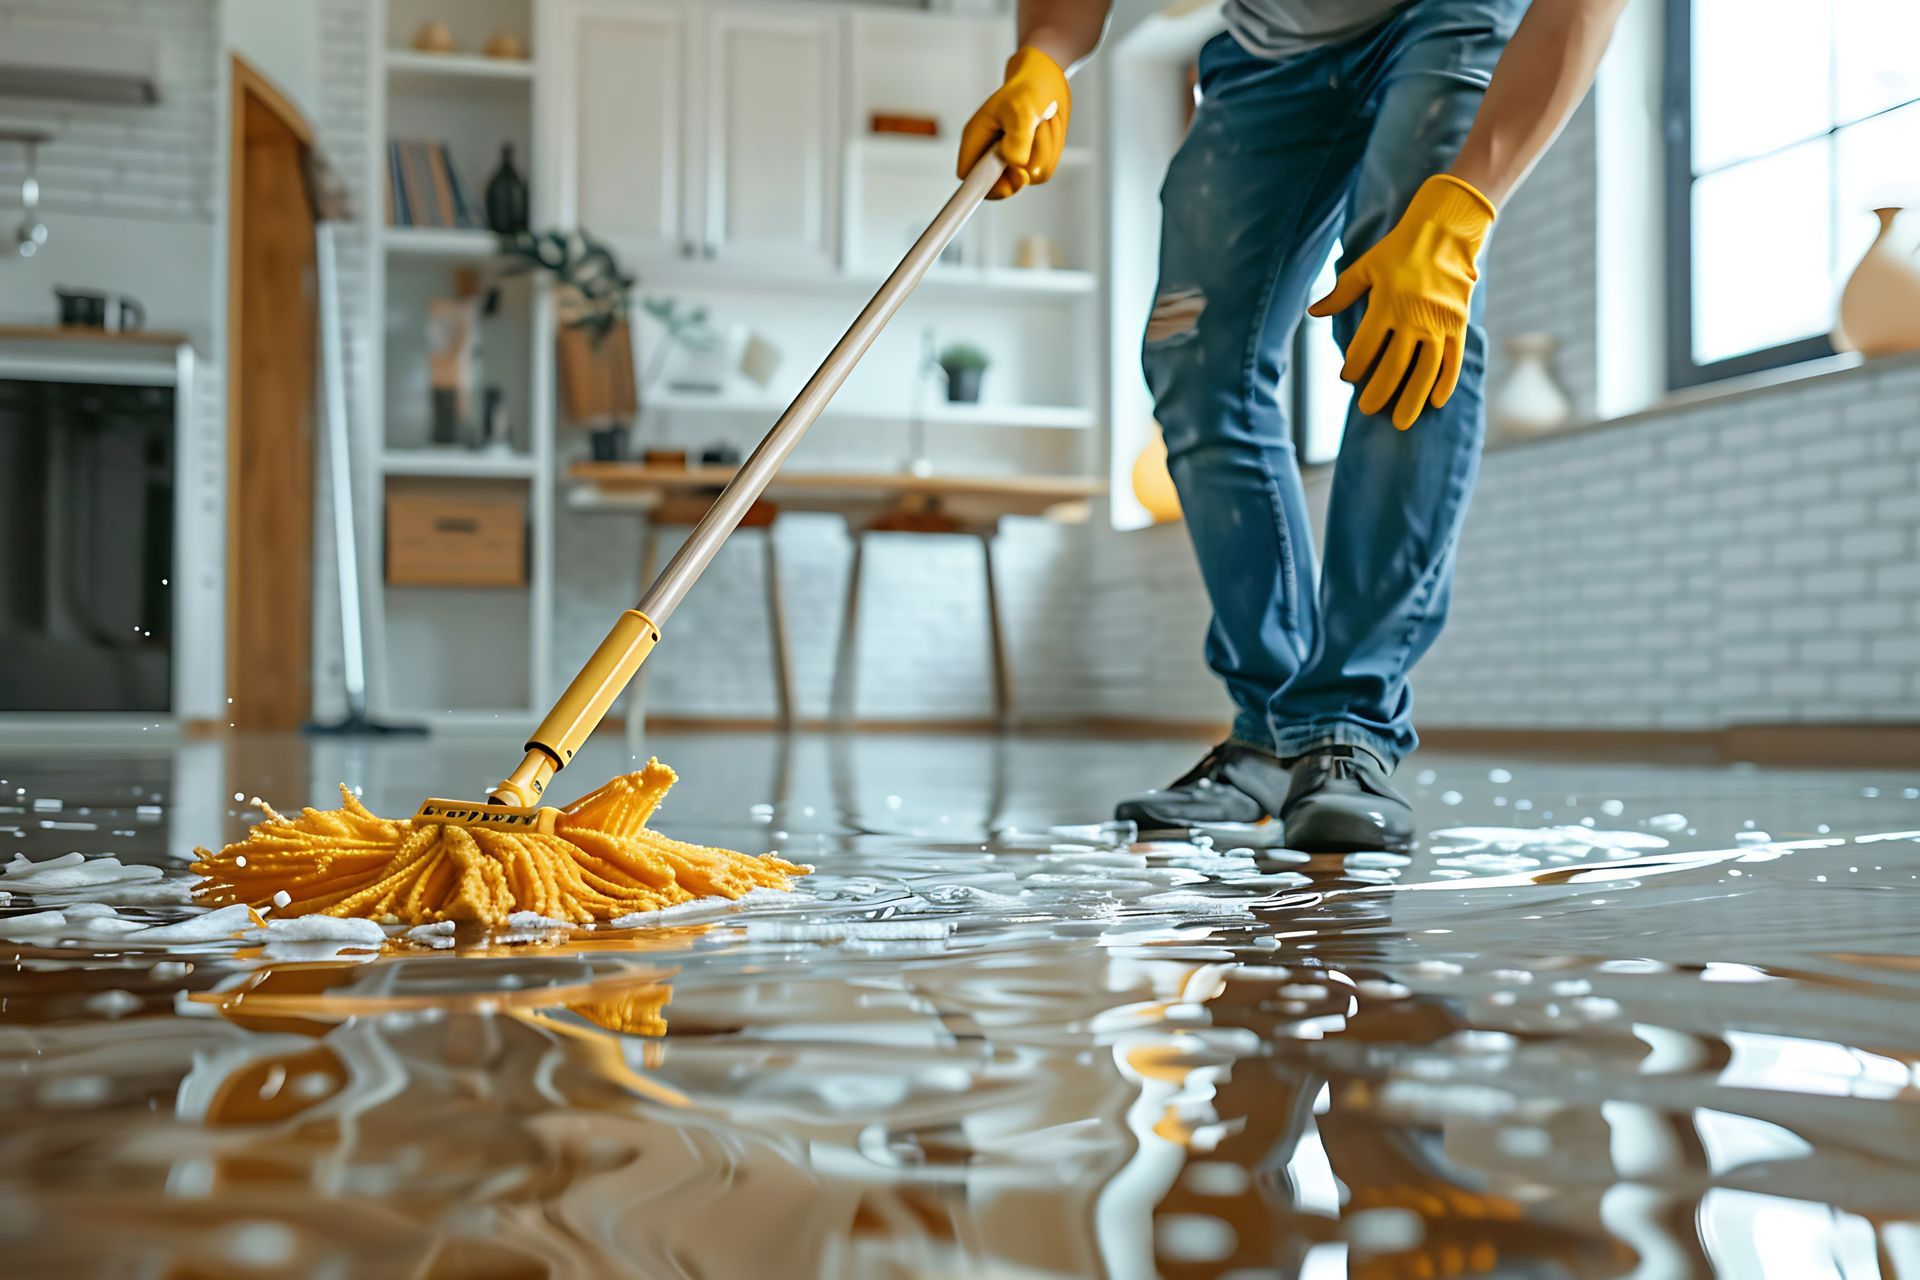
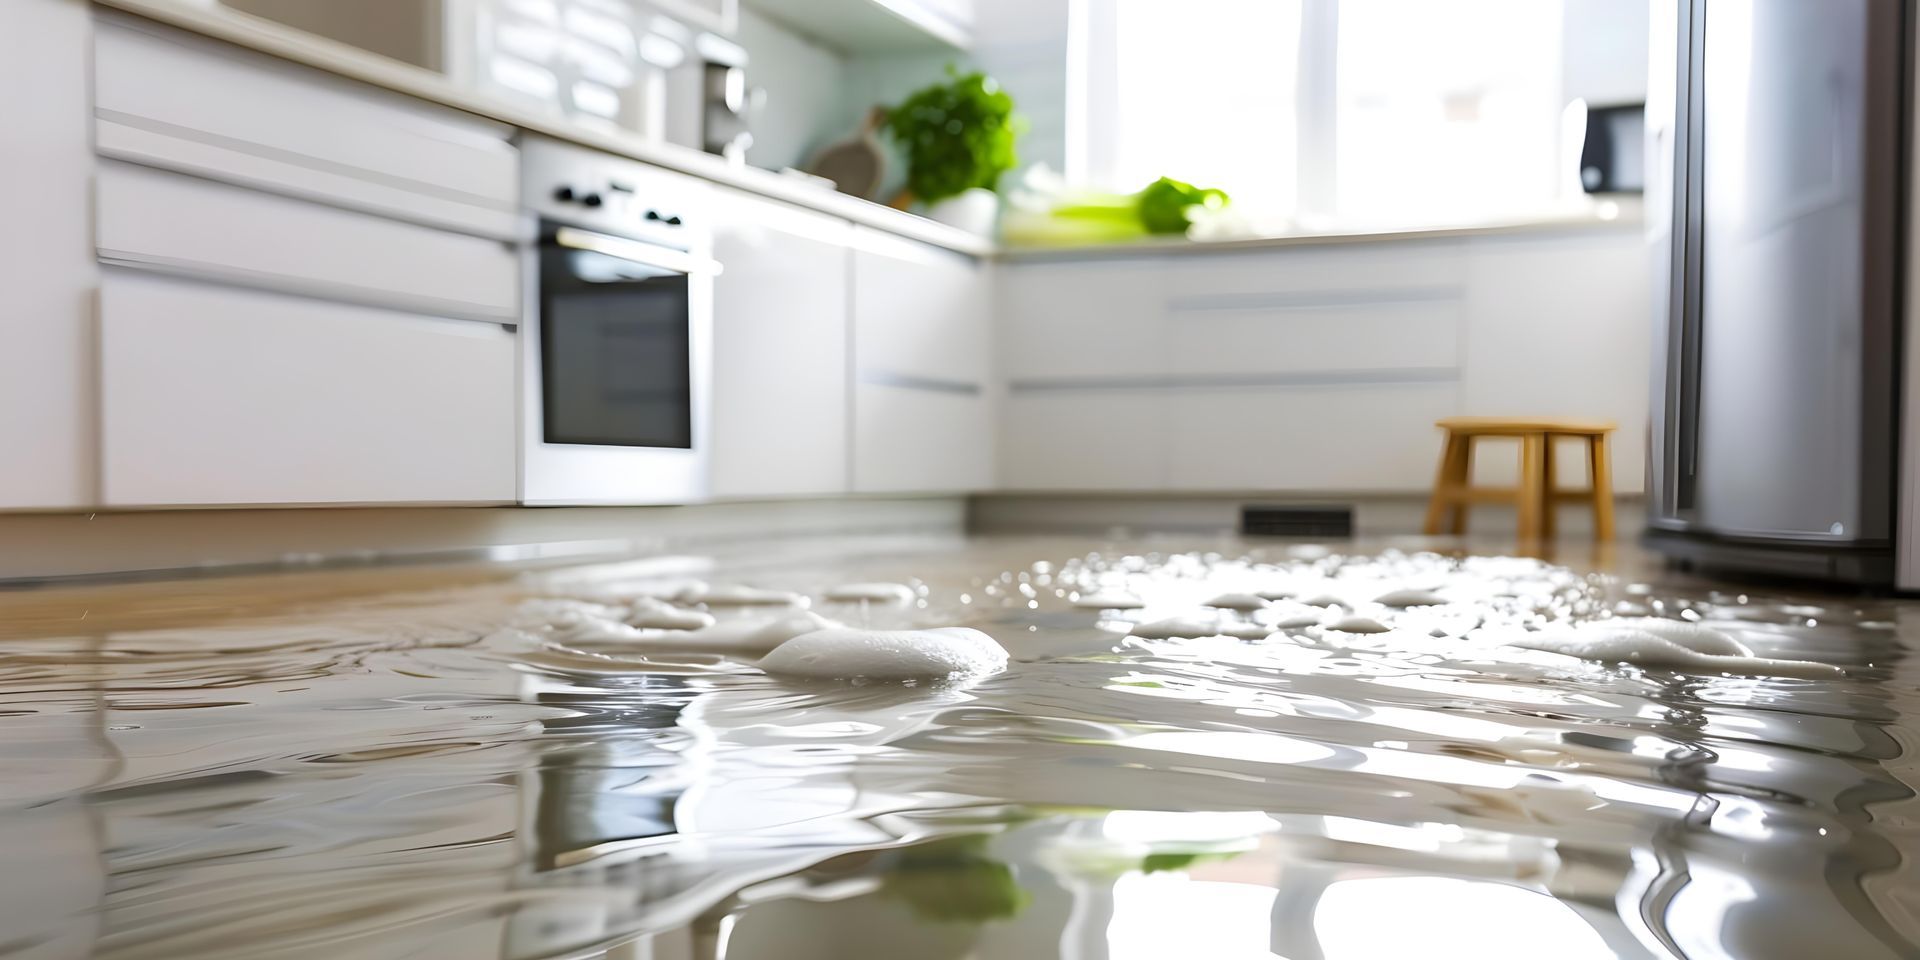
Water damage can feel overwhelming because it creates two problems at once: the physical mess in your home and the paperwork battle that follows. A burst pipe, roof leak, appliance failure, or storm intrusion can soak drywall, flooring, cabinets, and insulation quickly—often with “hidden” water damage you won’t notice until days later. If you plan to file an insurance claim, what you do in the first 24–72 hours can heavily influence how smoothly the claim goes and how complete your payout is.
All Service Adjusting (ServiceAdjusting.com) is a licensed public adjusting firm that represents policyholders—not insurance companies—through the claims process, including water and flood-related losses.
Step 1: Stop the source and prevent more water damage
Your policy typically expects you to prevent further damage after a loss. That means:
- Shut off the water supply (fixture valve or main shutoff) if safe
- If water is near outlets or electrical equipment, turn off power to the affected area
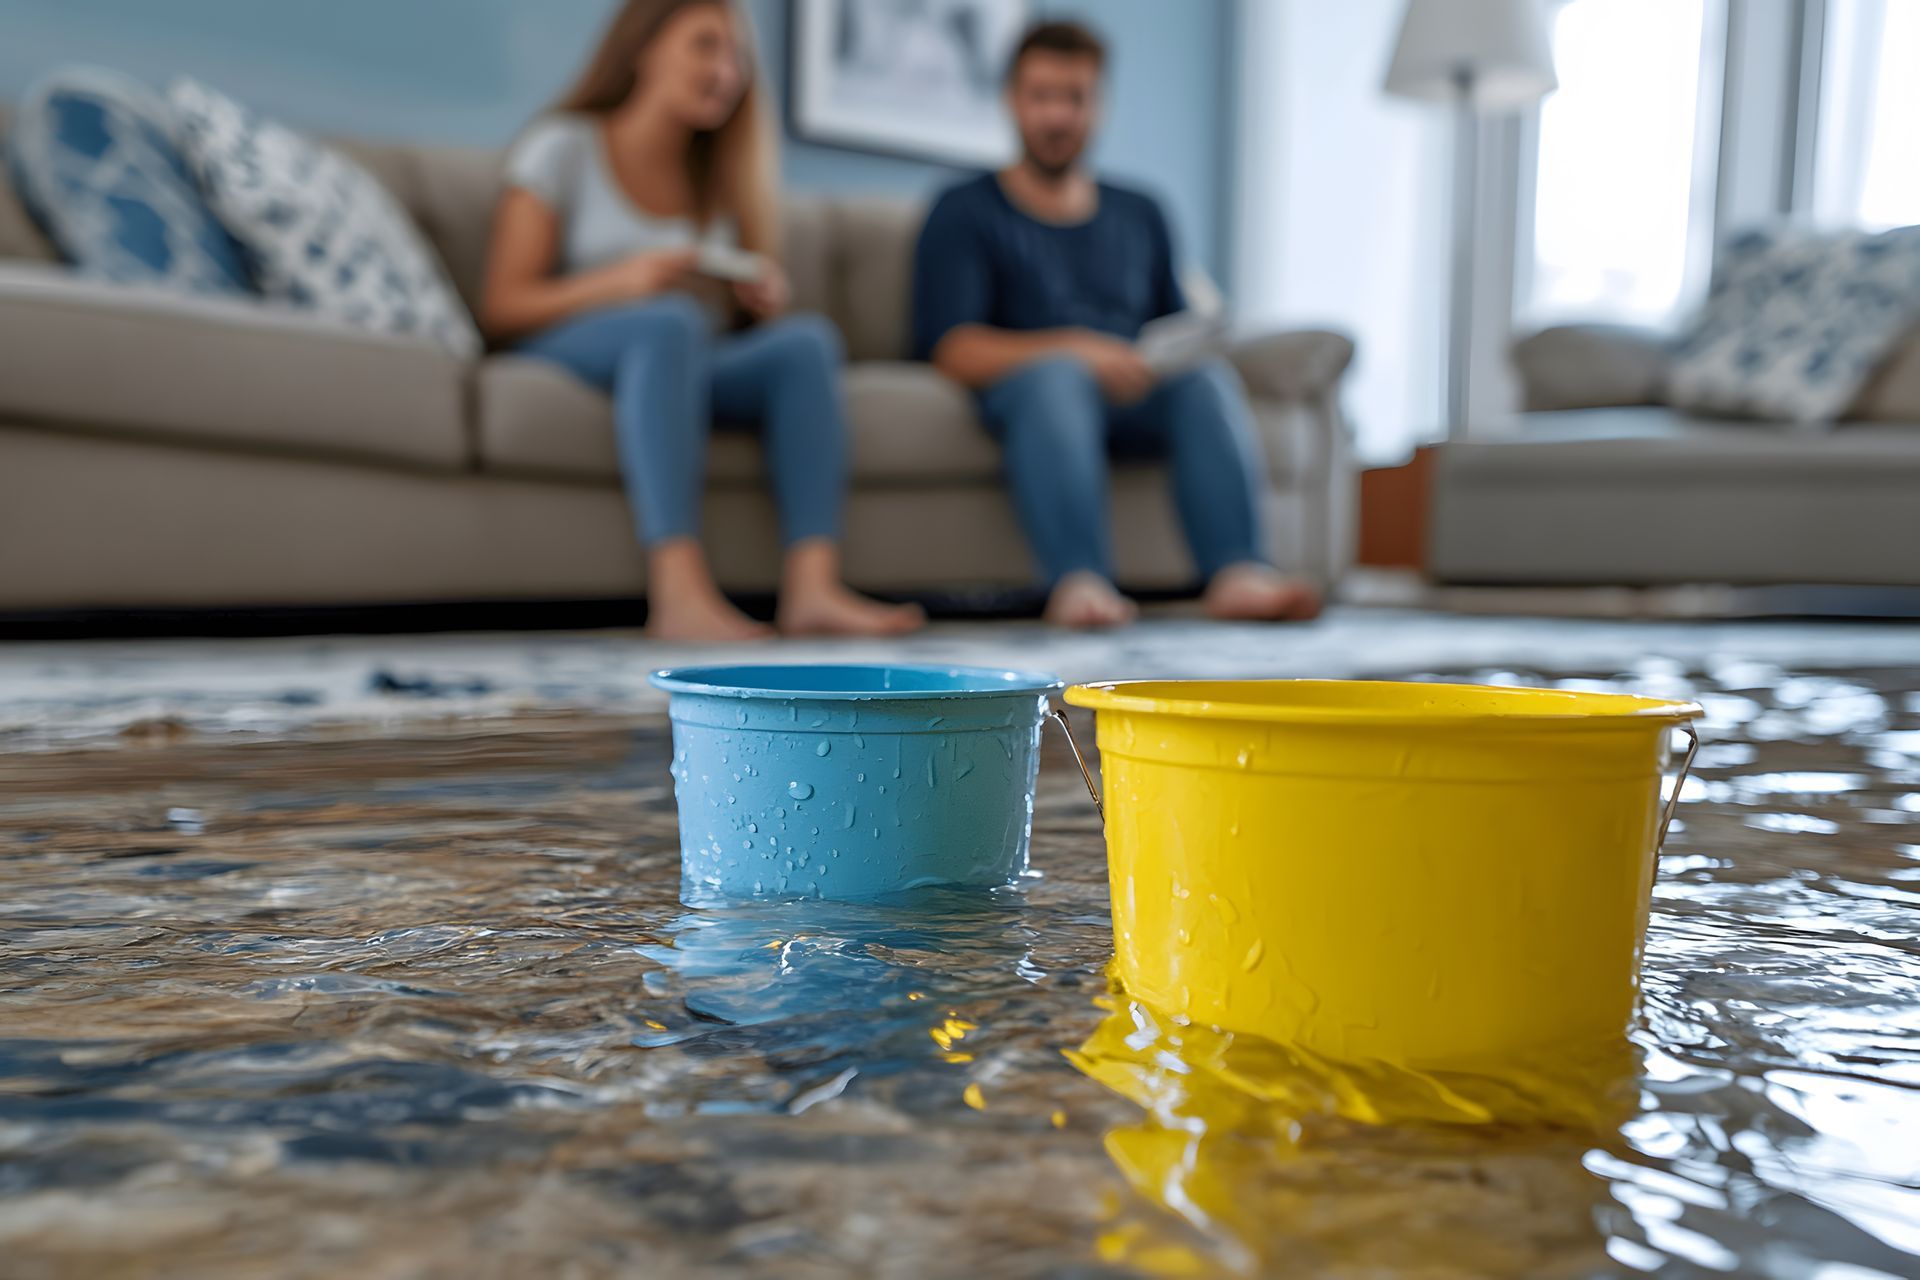
- Catch active drips with buckets and move valuables out of the wet zone
- Don’t wait—ongoing moisture expands the scope fast
Step 2: Document everything before you remove materials
Before you tear out drywall or pull flooring, capture the condition of the home clearly. Good documentation is one of the biggest differences between a clean settlement and a frustrating back-and-forth.
Create a quick claim file with:
- Wide-angle photos of every affected room
- Close-ups of staining, swelling, buckling, and wet materials
- Photos/video of the suspected source (supply line, appliance, roof area)
- A short written timeline: when you noticed the water damage, what you did, and who you contacted
All Service Adjusting emphasizes detailed reporting, photos, and estimates to ensure the full loss is properly recorded.
Step 3: Be careful with “cleanup” vs. true drying
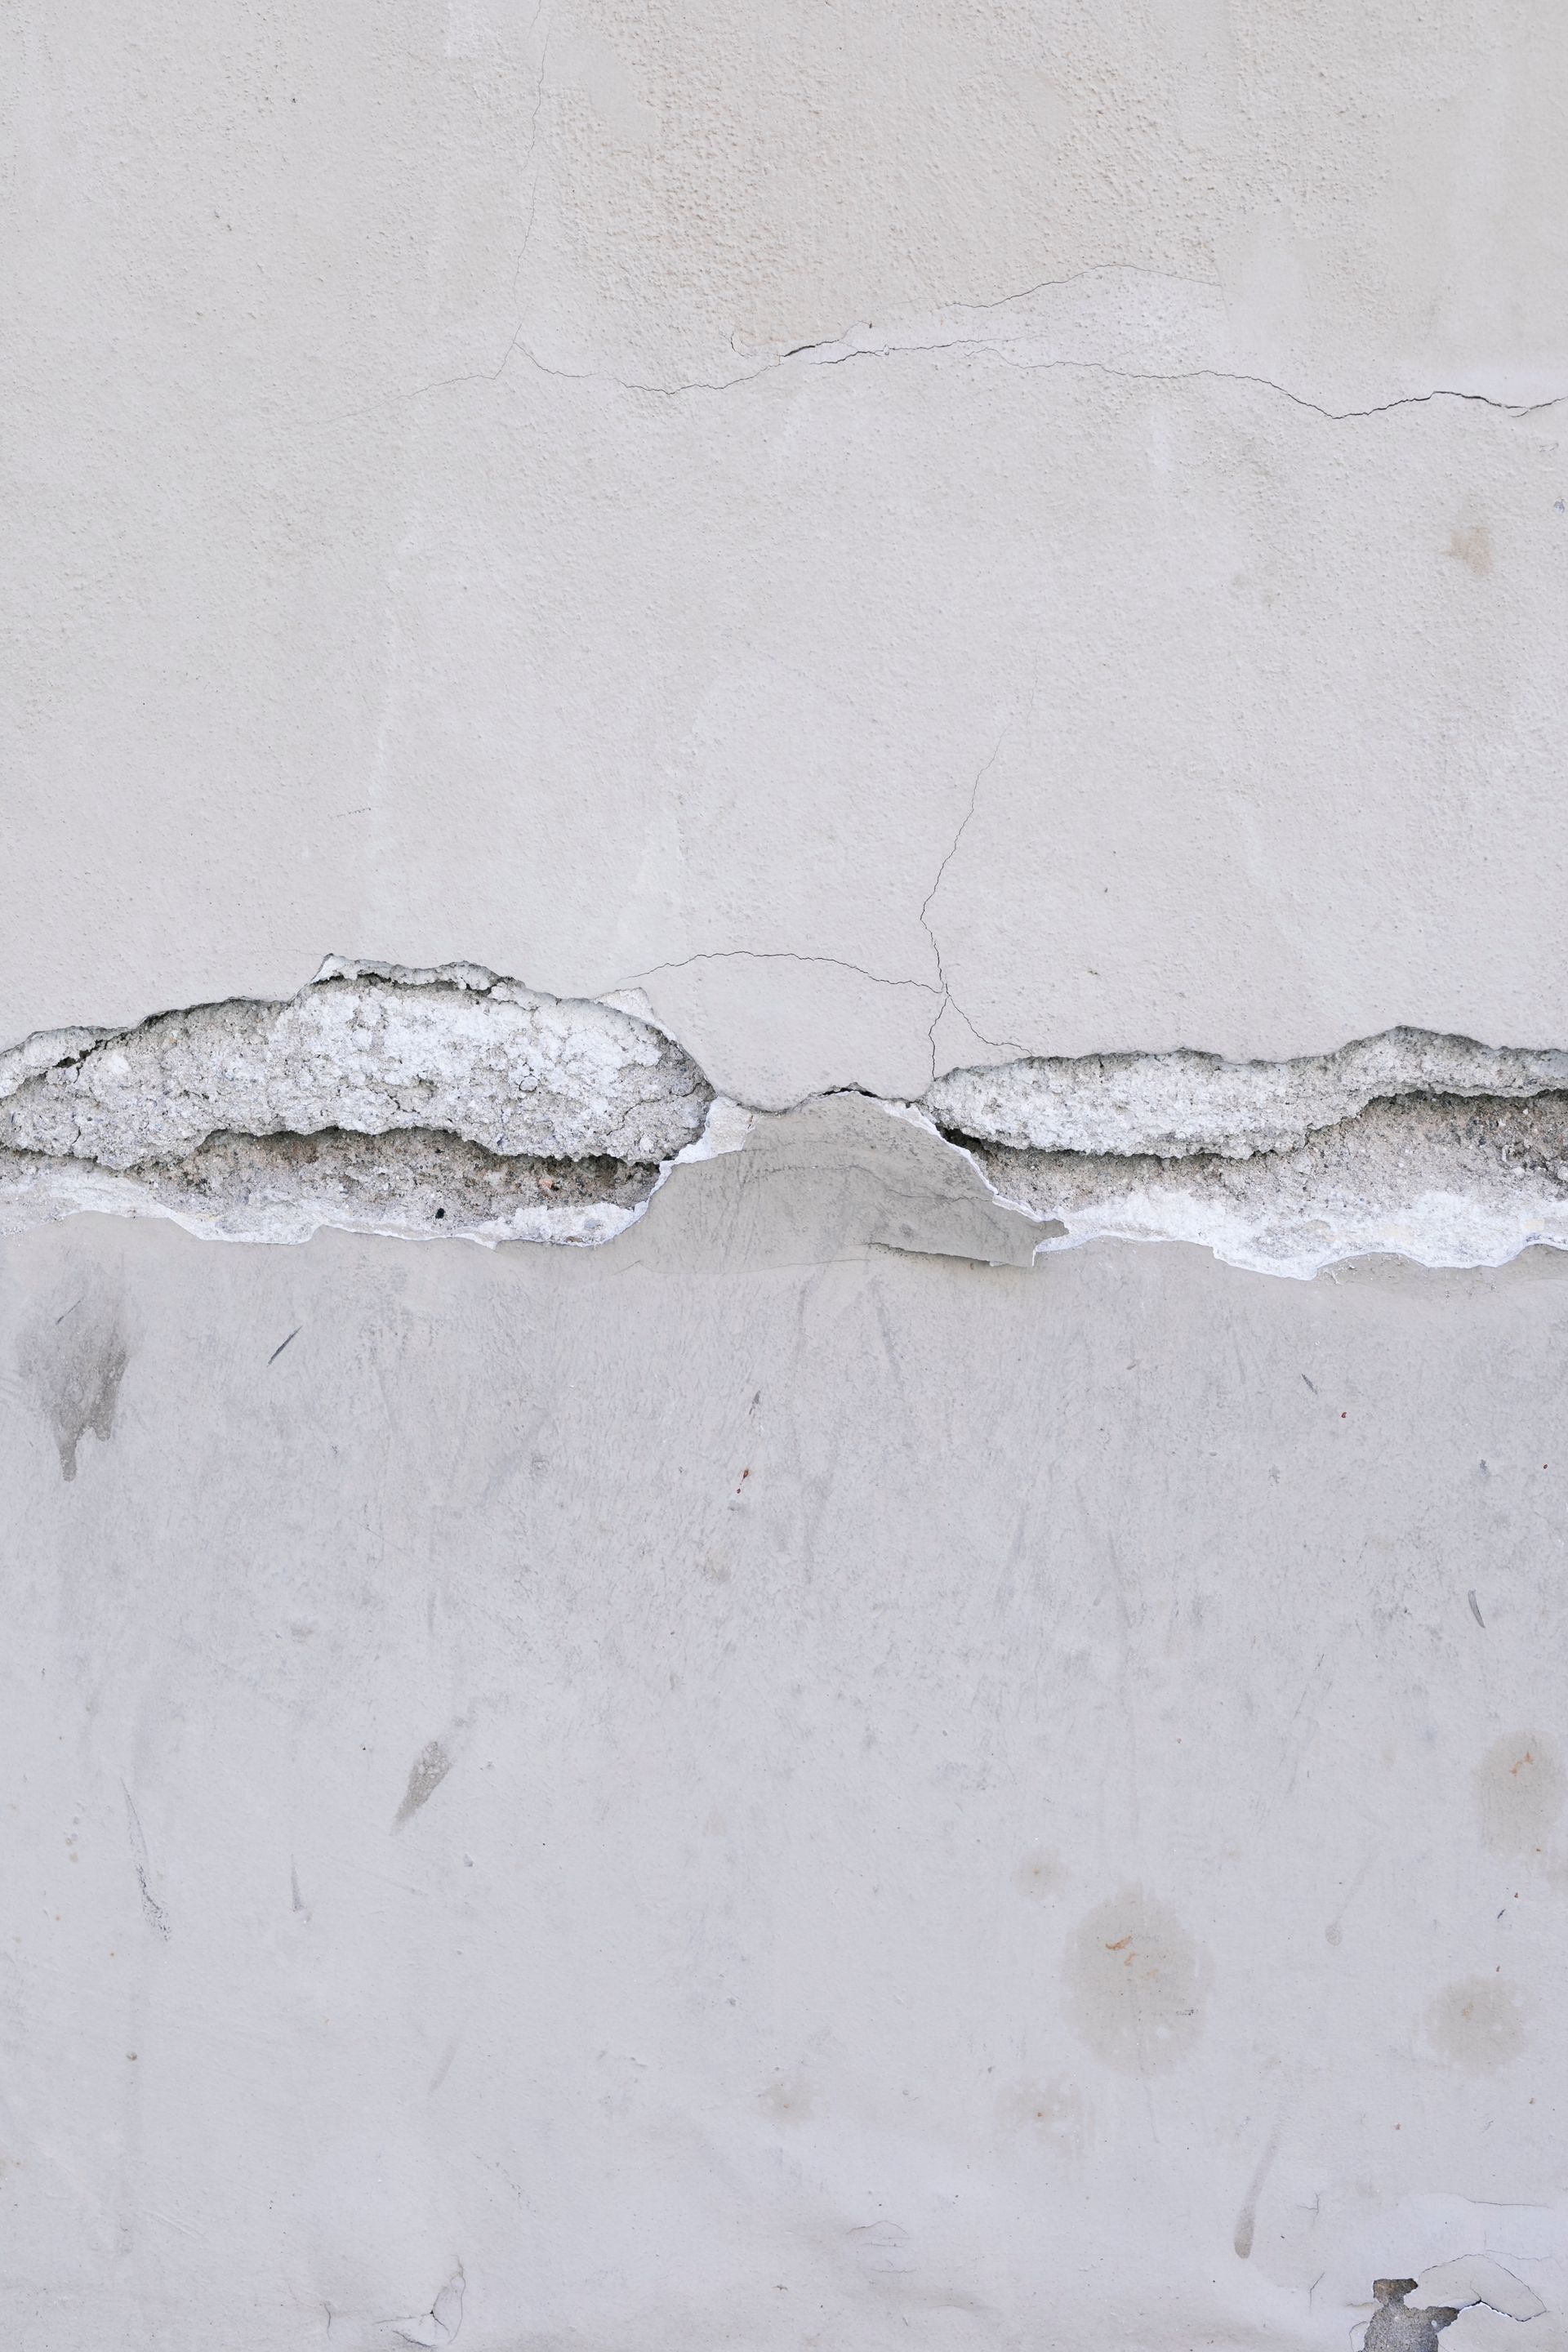
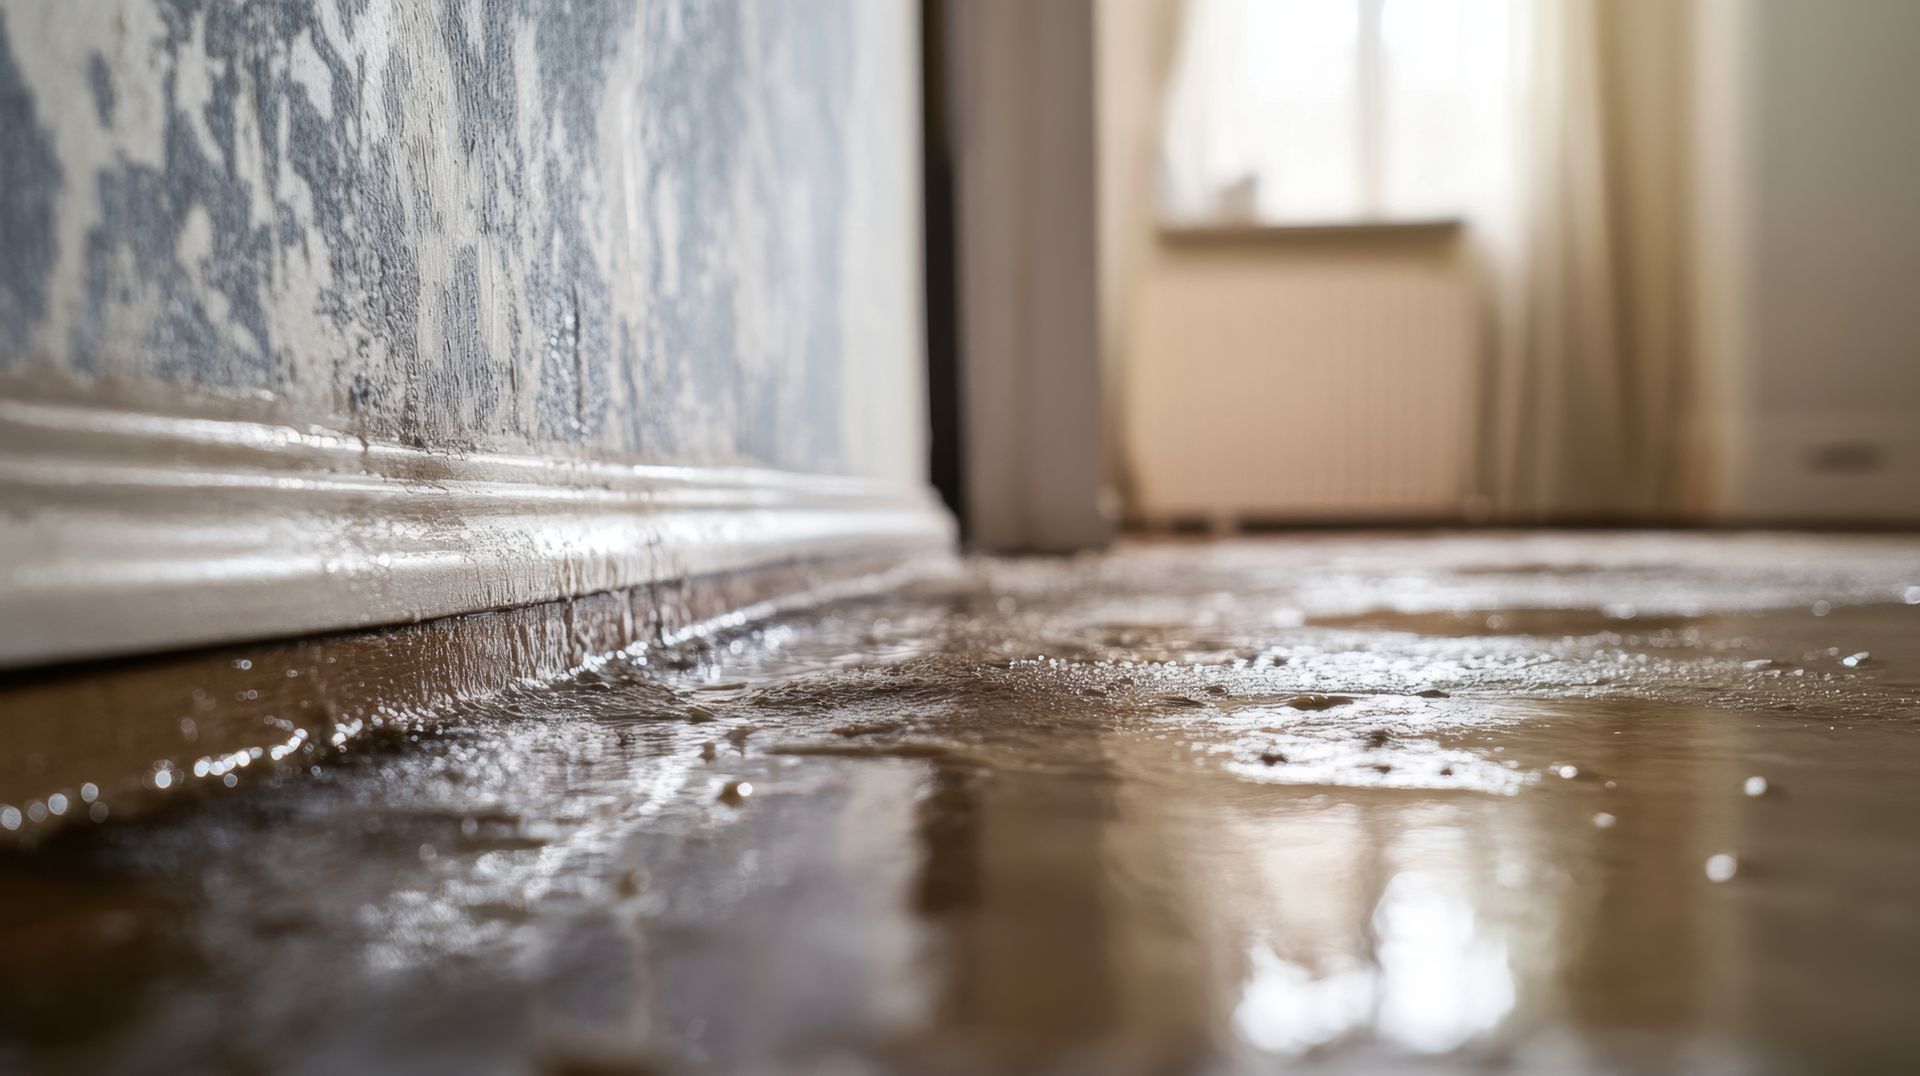
A room can look dry while moisture remains trapped under flooring, behind baseboards, or inside wall cavities. That hidden water damage can later show up as odor, material failure, or mold risk—issues that can affect the scope and value of your claim.
If the water damage reached walls/ceilings, multiple rooms, or a lower level (like a basement/crawlspace), professional moisture detection and structural drying are often necessary to confirm what’s truly affected.
Step 4: Track every damaged item (contents)
Insurance claims often include two buckets:
- Dwelling/structure (drywall, flooring, cabinets, paint, trim)
- Contents/personal property (furniture, clothing, electronics, décor)
Make a simple contents inventory:
- Item name + brand/model (if known)
- Approximate age
- Photo proof (if possible)
- Replacement cost evidence (screenshots/receipts where available)
Step 5: Avoid common water damage claim mistakes
These are frequent reasons water damage claims get delayed, reduced, or disputed:
- Throwing away materials before photographing them
- Not documenting the full affected area (especially adjacent rooms)
- Only reporting the “visible” damage and missing hidden moisture
- Accepting an initial scope that doesn’t include all necessary repairs
- Waiting too long to get help, then trying to “re-open” the claim later
Step 6: Know how a public adjuster can help with a water damage claim
A public adjuster works for the policyholder and can handle inspections, documentation, negotiation, and communication with the insurer.
All Service Adjusting specifically highlights advocacy through comprehensive assessment and accurate documentation—often uncovering hidden water damage and longer-term risks like mold.